Tuesday, January 23, 2024

January 2024 Paper Pumpkin ALTERNATE CARDS: Triple Time Technique


You can download the free project sheet here: https://lp.constantcontactpages.com/sl/qH4M7nC/jan2024paperpumpkinalt1


January 2024 Paper Pumpkin Alternate Cards
Triple Time Stamping Technique
Featuring Painted Lavender Stamp Set as Well

If you are a visual person like me it helps so much
to see the coordinating colors in the stamps from the kit

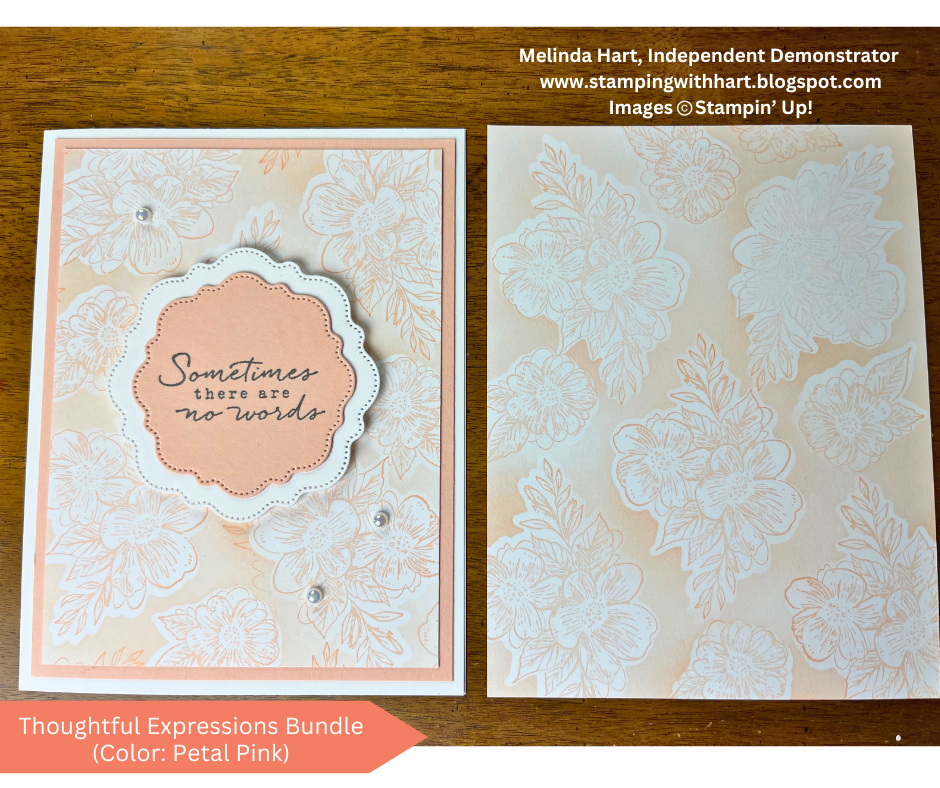
Today's card features an oldie but goodie stamping technique: triple time stamping! Both cards have the same measurements. 

CARD MEASUREMENTS

  • CARD BASE: 5-1/2 x 8-1/2" Score: 4-1/4" (Paper Pumpkin Card Base or Desired Shade of Cardstock)
  • BASIC WHITE (Cardstock): 4 x 5-1/4"
  • COLOR CARDSTOCK LAYER: 3-1/4 x 4-1/2"
  • BASIC WHITE: 3 x 4-1/4"
  • COLOR CARDSTOCK LAYER: 2-1/4 x 3-1/2"
  • BASIC WHITE: 2 x 3-1/4"
  • (Optional) Insert in Basic White - 4 x 5-1/4" (for inside of card only if you use your own color cardstock like Berry Burst or Gorgeous Grape) 

INSTRUCTIONS

Take the 3 Basic White pieces and adhere them together temporarily by placing a VERY SMALL amount of adhesive in the center of each layer. I recommend a single adhesive dot from your Paper Pumpkin kit for each layer. You can place on finger or tap a few times to remove some of the stickiness so it's easy to remove later.

Once you've stacked and temporarily adhered your Basic White layers it's time to stamp.

Stamp leafy sprig in all four corners with Bubble Bath ink for the Valentine... switch to Real Red ink (the same stamp) and fill in the areas between the pink. You can continue to layer until you are happy with your result.

(Highland Heather for the lavender version)

NOTE: With the triple time technique, try to get the stamp across two or even all three layers for a great payoff later when card is assembled.

The traditional Valentine version sticks to just two shades: Real Red, Bubble Bath

The Lavender version features: Highland Heather, Berry Burst, Garden Green and Gorgeous Grape

You can choose how many different stamp images or sentiments you'd like. The Valentine is the same image in two colors and then "With" "Love" and "Happy Valentine's Day" stamps center.

The Lavender version has flowers, butterflies, leaves and sentiments. Make it as easy or as layered as you would like! 

Once you are done stamping, separate the layers (give them a gentle twist to separate the temporary adhesive dot) and mount each layer to it's coordinating cardstock mat.

OPTIONAL: If you plan to add an insert to your card then stamp and glue it to the inside of the card. If you are using a Paper Pumpkin card base from this month's kit you won't need an insert. If you choose to make your own cardbases, consider adding the insert! 

I hope you enjoyed today's card tutorial!

Here is the product list for today's cards. 

Happy Crafting!

Melinda

Sunday, January 21, 2024

Did You Know THIS VALENTINE KIT is Still Available?


Hello! Did you know the January 2023 Paper Pumpkin Kit: KEY TO MY HEART is still available?

It's true!

You can still purchase the PAST KIT (meaning it is complete with stamp set and ink spot) as well as the REFILL (consumable pieces like card bases, envelopes, die cuts...) and even the add-on HEART BOXES are still available!

Past trends show that these kits tend to get noticed and ordered near the holiday so my personal opinion is NOT TO WAIT if you want these past Valentines!


KEY TO MY HEART PAST PAPER PUMPKIN KIT
Item 162389


KEY TO MY HEART PAPER PUMPKIN REFILL
Item 162472

HEART BOXES
Item 162417

Plus, I am going to share last year's alternate video here again with you if you want to refresh on your memory on these adorable Valentines.


If you have this at home you may also enjoy the project sheet from last year's alternative cards:  https://lp.constantcontactpages.com/su/JGEAoZA/janpaperpumpkinalternates

If you love making alternate cards each month like I do then here are few GO TO tips I use with just about every kit...


Have you considered subscribing to Paper Pumpkin? 

The February Kit will have a Spring/ Easter theme! You can subscribe monthly here: https://www.paperpumpkin.com/en-us/sign-up/?demoid=2212777

Sneak Peek for the February 2024 Paper Pumpkin Kit

And while we are on the top of Valentine's Day... what a treat would it be to gift a Paper Pumpkin subscription to a friend, family member or even yourself?

Consider a Prepaid Paper Pumpkin Subscription during our Sale-a-Bration months!

When you purchase a 3, 6 or 12 Month Paper Pumpkin subscription you can earn free products until February 29, 2024. Questions? Email me: stampingwithhart@gmail.com

Ready to shop? See the links below.

Whether it's for Galentine's Day or Valentine's Day these past kit items are perfect!

Thursday, January 18, 2024

January 2024 Paper Pumpkin Kit Unboxing: A Lovely Lavender Surprise! Get...


THIS. KIT. IS. GORGEOUS!!!!!!!!!!!!!

The January 2024 Paper Pumpkin Kit is here! Let's unbox it together. You can catch the full replay right here.

Don't make the same I did, lol! 

This may not be a traditional Valentine theme but I really think they knocked this one out of the park!

And it coordinates with a VERY POPULAR suite in our new Mini Catalog! It coordinates with the Perennial Lavender Suite as well as the The Love of Spring Dies Add-On. I'll list the information below.

Enjoy! Have you received your Paper Pumpkin kit yet?

Also, don't forget to sign up or reactivate for the February 2024 Paper Pumpkin kit. It's about Spring and Easter!

Happy Crafting!

Melinda

Friday, January 12, 2024

Master the Background Stamping Mask Technique: Transform 10 Cards!


You can download the free project sheet for today's cards and technique here: https://lp.constantcontactpages.com/sl/7Emxwf0/stampbackgroundmasktech


MEASUREMENTS

  • Card Base: 5-1/2 x 8-1/2" Score: 4-1/4"
  • Subtles Cardstock Layer: 4 x 5-1/4"
  • Basic White Layer: 3-3/4 x 5"
  • (1) Subtles Die Cut Layer (Thoughtful Expressions Dies)
  • (1) Basic White Die Cut for Sentiment (Thoughtful Expressions Dies)
  • (3) Iridescent Pearls Basic Jewels

INSTRUCTIONS

I will be using the Thoughtful Expressions Stamp Set for ALL stamping on today's card projects. I will be using the Subtles Collection - all 10 shades - in the ink and coordinating cardstock for each card. Basic White is the anchor cardstock for all of the card bases and for the colors that are very light, I stamped with Pebbled Path for the greeting.

HOW TO DO THIS STAMPING TECHNIQUE

For this technique I recommend the Stampin' Up! Masking Paper & Blending Brushes. The small blending brush gives more concentrated coverage and the regular blending brush is a little bit softer as it covers a larger area. Either one of these sizes is fine for this technique. I actually used both and loved the way both looked. You can play with this and see which you like best.

The look we are going for is a repeat stamped background but having several of the images stand out by masking the image and adding color around it. It creates a sort of spotlight look that easy to do and really shines on a simple card. 

Choose your background stamp. For this example, I will use the humming bird stamp from Thoughtful Expressions Stamp Set.

  • Stamp the image on the masking paper
  • Die cut it out with the coordinating hummingbird die
  • Stamp the bird on your Basic White layer measuring 3-3/4 x 5"
  • If it's a larger stamp like the hummingbird I recommend 3 birds to create this look
  • Stamp in a sort of triangular pattern
  • You want to see most of the bird but it's ok if it is partially off the paper
  • Once you've stamped your 3 birds then remove the backing from the masking paper bird and lay it over the stamped image
    • NOTE: It doesn't have to be an exact line up just try to cover the image as best you can
  • With your Blending Brush, add ink from ink pad in a light circular motion
  • Dab off on scrap paper (This is optional but prevents a blot of dark color)
  • Starting on the center of the image - on the masking paper - do a circular swirl so that you are getting around the edges of the masking paper. Keep it concentrated to just that masked image. I don't recommend broad coloring or shading

You will repeat these same exact steps with the other two birds. Each time you remove the masking paper from the first image and you can re-use it on the other two as long as you are careful not to rip it. Take your time moving the mask. If the masked image no longer lays flat you need to replace it with another mask. Repeat shading with Blending Brush so the edges of each masked hummingbird have color all around and then remove mask.

You will have some white space remaining around edges. Take the same stamp (or you can choose a different stamp image) and stamp all around the edges with the same color. This really helps to create that overall background look and there's nice contrast for the standout birds you just masked.

Glue the Subtles cardstock layer to the card base. Glue the stamped background next.

Stamp desired greeting from the Thoughtful Expressions stamp set in the Subtles ink (choose your desired color) on the Basic White Die Cut.

With dimensionals add that greeting to the coordinating layer die cut in Subtles shade.

Glue to card. If you happened to make any mistakes stamping your background just pop your greeting/ sentiment die cut over it.

Finish with Iridescent Pearls.


I hope you enjoyed today's stamping technique! 

Happy crafting!

P.S. - It is SALE-A-BRATION time! Earn free products during January and February when you shop in increments of $50.00. There are rewards at the $50 and $100 level.

I will include a product list of the items used today. Sale-a-Bration is a great time to stock up on Color Collection products just like the Subtles Collection ink pads, cardstock, ink refills, Stampin' Write Markers and Designer Series Paper.

Sitting down and playing with color collections is also a great way to ensure you are trying different colors you may not use everyday and familiarize yourself with these soft, beautiful colors like feel like Springtime!

Melinda

Wednesday, January 10, 2024

LAST CHANCE for the Lovely Lavender Paper Pumpkin Kit!

Today is the LAST DAY to subscribe to the January 2024 Paper Pumpkin Kit: Lovely Lavender!


This is a love theme kit that makes 8 cards, 4 each of 2 designs with coordinating envelopes! 

This is an ALL-INCLUSIVE kit meaning everything you need to make the cards is already in the box, but if you love alternative ideas or you really love the maximize the value of your kit and components, you can coordinate this kit with the Perennial Lavender Suite in the new January to April 2024 Mini Catalog. 

NOTE: I will absolutely be doing alternatives with that suite once we all have our kits later this month.

There is an add-on die set: The Love of Spring Dies that is available to purchase and will coordinate with the next 3 Paper Pumpkin kits, including January's kit. It's only $12! It includes 4 dies.


Let's talk about how to earn Sale-a-Bration rewards while subscribing to Paper Pumpkin in January and February 2024.

If you purchase a prepaid subscription of 3, 6 or 12 months during Sale-a-Bration (January 4 - February 29, 2024) you will earn FREE Sale-a-Bration products. I will include all of the options below.

This year Paper Pumpkin has decided to show us 3 months of previews at a time so, we can see sneak peeks of January, February and March! This makes choosing the 3 Month Prepaid Subscription option a no-brainer if you love these kits!

If you've never tried a prepaid subscription now is the time to start! 

IMPORTANT: If you purchase a prepaid code today (January 10th) be sure your prepaid code is activated TODAY so your January kit is covered. If you have questions, email me: stampingwithhart@gmail.com

Paper Pumpkin released a flyer telling us a little about each kit and if you would like that flyer you can email me: stampingwithhart@gmail.com and I'd be happy to send it to you, but since I am a visual person I decided to create these quick reference images to give you the same information on the flyer.

I personally like to see the coordinating colors so hopefully this helps you get a feel for the next three kits, including the images from the Paper Pumpkin team for each month. I have a quick reference to the add-on dies right next to the kit image for convenience.


This is going to be an incredible year for Paper Pumpkin! Look at these previews! 

The kits still arrive each month but giving us the ability to see the previews allows us to plan and feel confident in getting those prepaid subscriptions!

Now, you can still do month to month subscriptions and one month prepaid subscription but those do not earn Sale-a-Bration rewards.

Lovely Lavender looks amazing! Don't miss out on this beautiful kit!

Happy Crafting!

Melinda 


Wednesday, January 3, 2024

Easy Scene Card Layout for Any Occasion: Alternate Colors with Meanderin...


Hello! Today we are taking Basic White along with a few coordinating colors to make simple and fun scene cards.

You can download the free project sheet here: https://lp.constantcontactpages.com/sl/lBcCrSw/meanderingmeadowcards

Crushed Curry & Basic White Color Combo

Melon Mambo & Basic White Color Combo


Parakeet Party & Basic White Color Combo


Petal Pink & Basic White Color Combo

CARD MEASUREMENTS

  • Card Base: 4-1/4 x 11 Score: 5-1/2"
  • Cardstock Layer (for Arch Die Cut Frame): 4 x 5-1/4"
  • DSP Layer (Cut out with the Arch Die) Meandering Meadow DSP
  • 1 Die Cut for Sentiment (The Love of Spring Dies) Basic White Cardstock
  • 1 Piece of Center Stripe Ribbon (About 3-1/2")
  • 1 Die Cut Arch (for the inside of card) This piece cuts from the cardstock layer above but wanted to list it)
  • (2) Embellishments NOTE: The Birds & Dragonflies from the Suite went on backorder so I substituted with Brushed Brass Butterflies

INSTRUCTIONS

Cut your card bases. One card base will be in white, the other card base in your chosen color. The next cardstock layer will be the same colors and put them with the opposite card, see photos above.

Die cut your arch into the cardstock layer. Set aside the die cut arch for the inside of the card. Cut another arch die cut with the DSP, choose your scenes as desired. I chose scenes that coordinated with the colors. Glue the frame layer to the card base. Pop the scene from the DSP into the frame.

OPTIONAL: Emboss the arch frame layer before gluing to card base with Metal Plate 3D Embossing Folder. Trim edges of ribbon and glue to the base of the arch die cut. 

Stamp greeting on the Basic White die cut from The Love of Spring Dies. Stamp sentiment for inside the card on the die cut arch. I chose Blueberry Bushel ink and Melon Mambo for my stamping. 

Glue the arch die cut inside the card. Pop the greeting on dimensionals and place over the ribbon.

Finish with desired embellishments. I chose Brushed Brass Butterflies to substitute for the Birds & Dragonflies which is on backorder until early February. All other Meandering Meadow products are currently available. 

I hope you enjoyed this simple and fun color swap. This is easy to do with many different suites, bundles and Designer Series Papers!

Happy Crafting!

Melinda


My 2024-2026 In Color Club Starts May 1st! IMPORTANT CHANGES!

Questions? Email me: stampingwithhart@gmail.com