Sunday, February 26, 2023

February 2023 Paper Pumpkin ALTERNATE CARD Ideas


Hello! Welcome! First, let's tackle the Suspended Book Fold Card. I found this card by Jan B Cards on YouTube. She makes the most incredible fun folds. Check out her tutorial on this. I did use her measurements but, of course, we are decorating our cards with the Paper Pumpkin kit (Sunshine card) and the Rain or Shine Suite (for the Rain card).

Rain Theme Suspended Book Fold
Rain or Shine Suite


Sunshine Theme Suspended Book Fold
February Paper Pumpkin Kit 2023

I will be referencing the February Paper Pumpkin Kit throughout this tutorial but I'll just type here once it is the Sunshine & Smiles 2023 Kit and I will be using the Add-On dies as well.

I do recommend and use the Rain or Shine Suite (or pieces from it) with this kit for alternatives. It's a perfect compliment to your Paper Pumpkin kit.


Here are the coordinating colors we will be using today. Okay, let's get to it!

SUSPENDED BOOK FOLD CARD *both cards have identical measurements, just swapping the themes*

  • CARD BASE: 7 x 10" Score at 5" (This ends up being a 5 x 7 size card)
  • CARD INSERT: 4-3/4 x 6-3/4"
  • (2) MECHANISM PIECES - 6 x 2" Score: 1-1/2, 3, 4-1/2"
  • (6) BASIC WHITE PANELS (for mechanisms): 1-1/4 x 1-3/4"
  • (6) DSP PANELS (for mechanisms): 1-1/8 x 1-5/8"
  • (1) BOOK PANEL: 5 x 5"
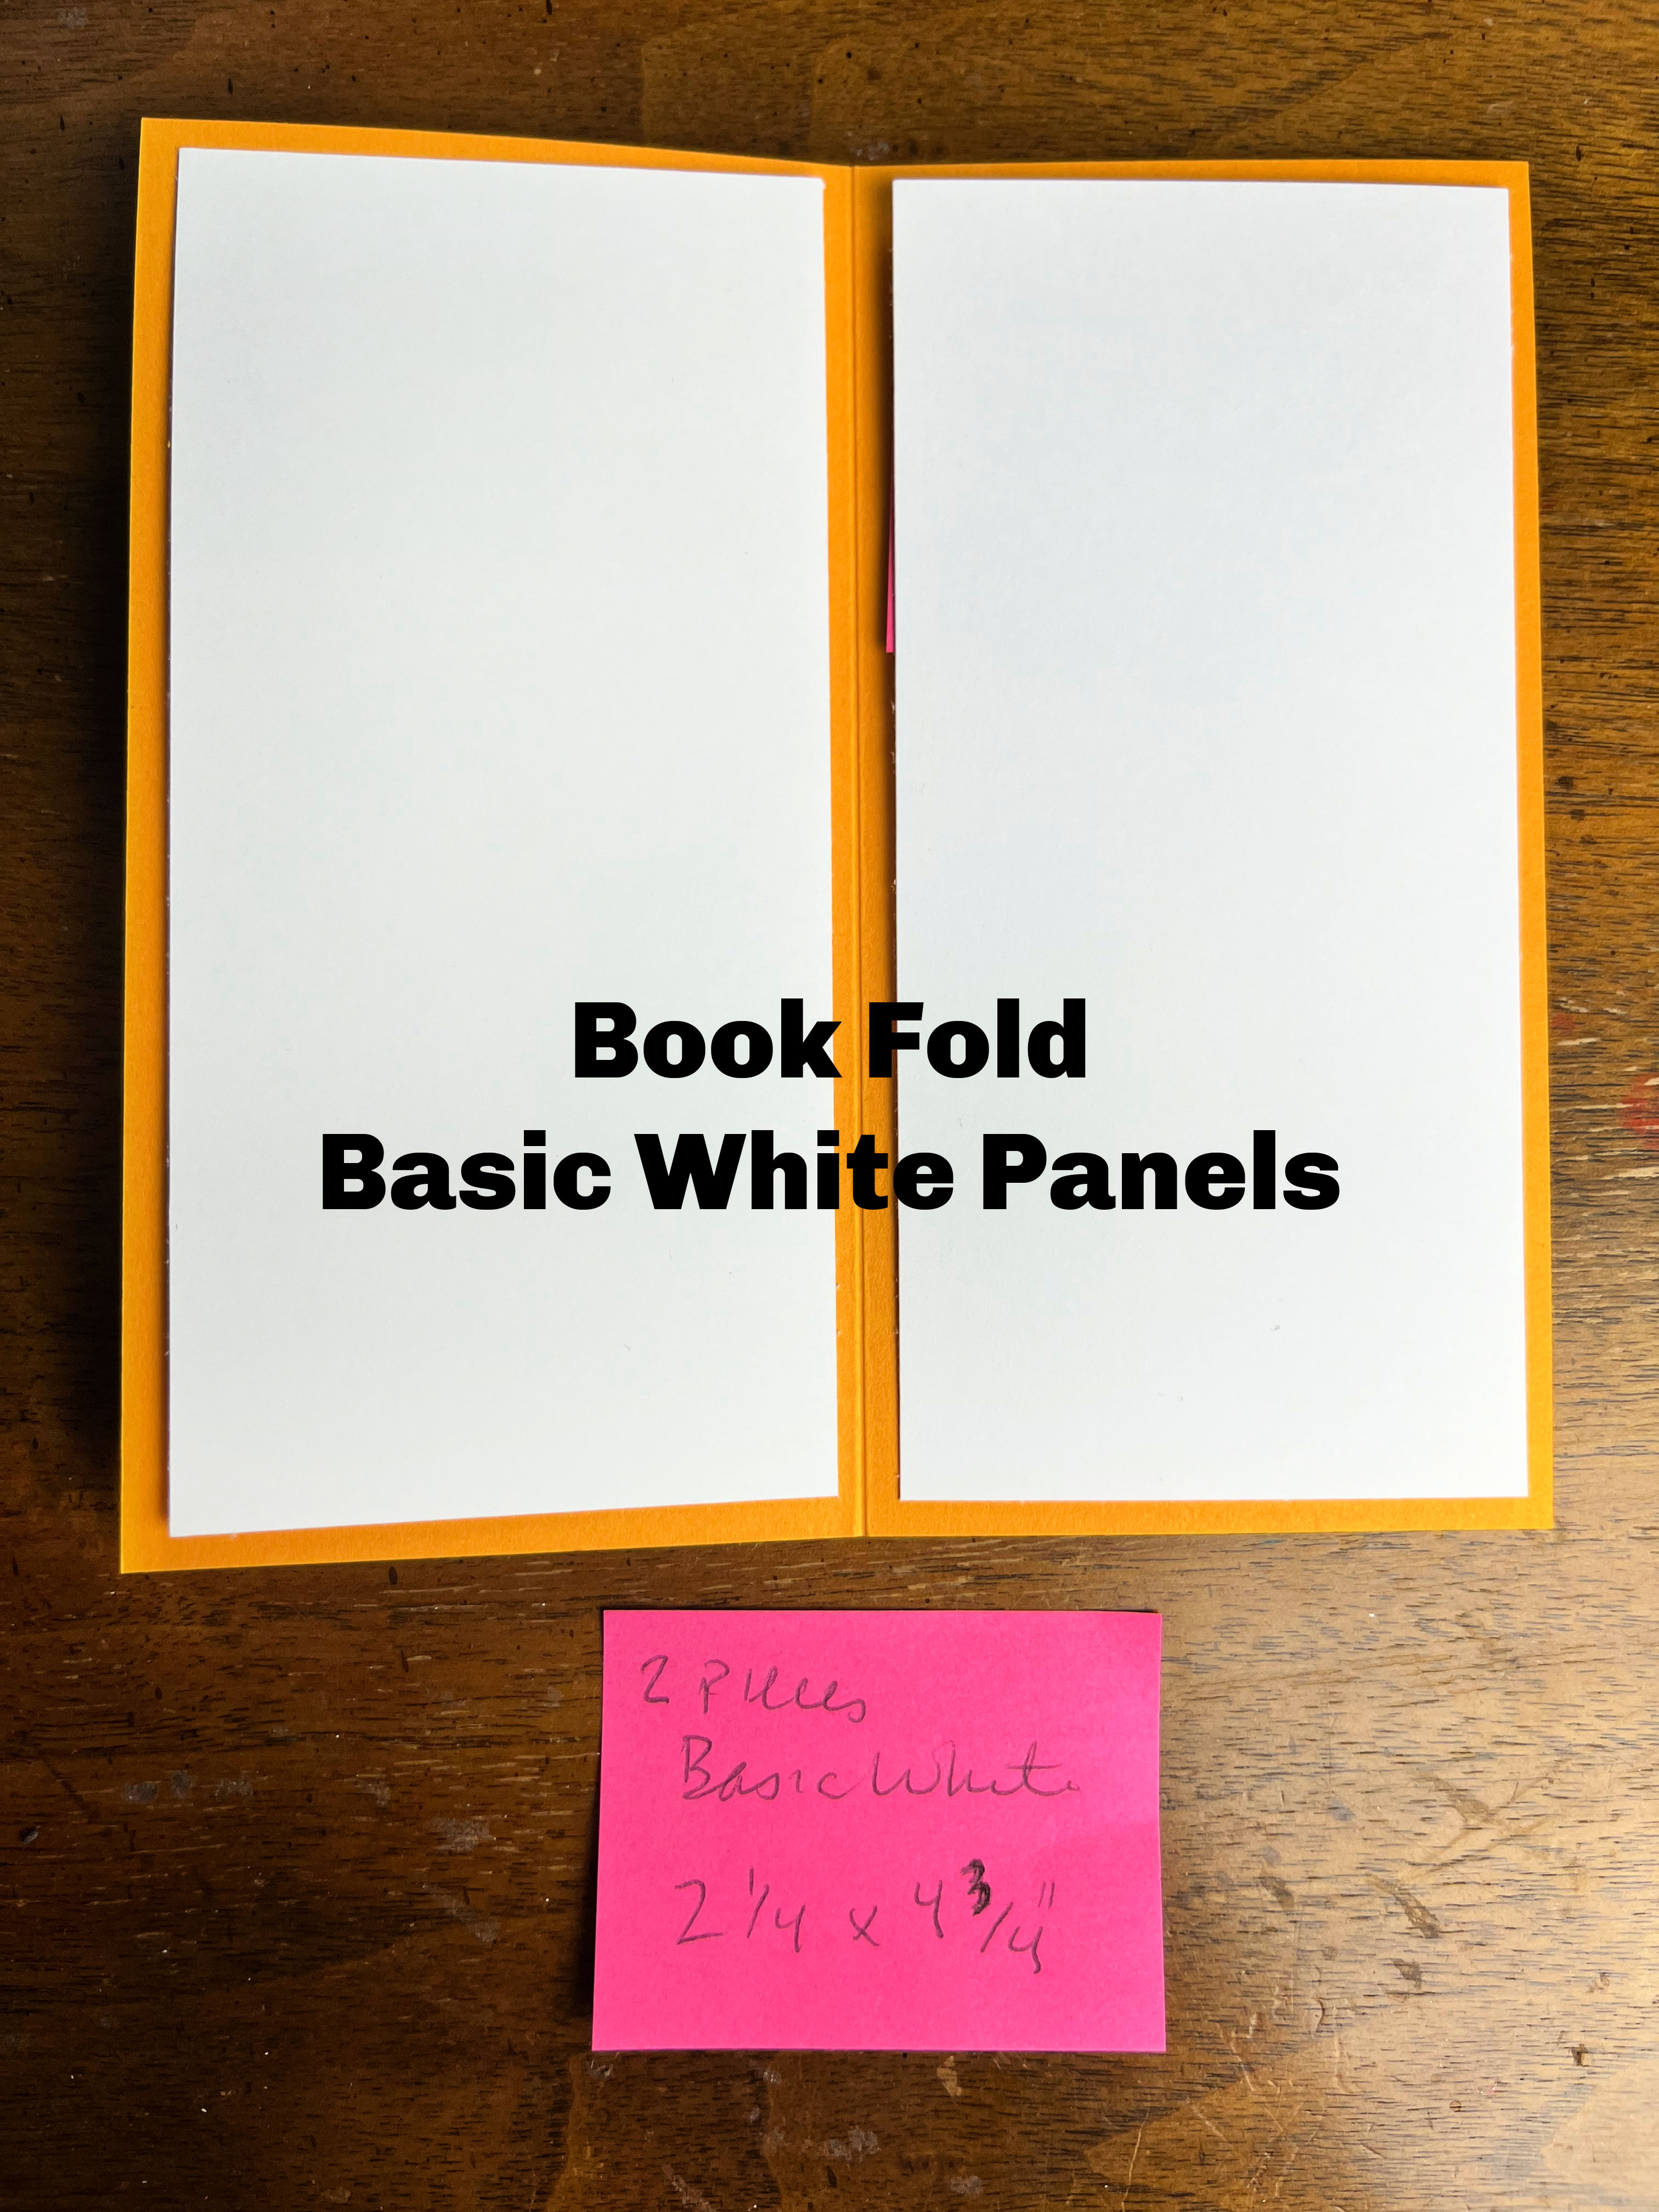
  • (2) BASIC WHITE PANELS (for book panel): 2-1/4 x 4-3/4"
  • (2) DSP PANELS (for book panel): 2-1/8 x 4-5/8"
  • (1) BASIC WHITE PANEL (for card front): 2-3/4 x 4-3/4"
  • (2) BASIC WHITE PANELS (for card front): 1-3/4 x 4-3/4"
  • (1) DSP PANEL (card front): 2-5/8 x 4-5/8"
  • (2) DSP PANELS (card front): 1-5/8 x 4-5/8"
  • Decorative Elements (Rain Card: Rain or Shine Suite/ Sunshine Card: Paper Pumpkin Pieces and Rain or Shine DSP)
  • NOTE: I did not create an envelope for this card

The Sunshine Card has a MANGO MELODY CARD BASE

The Rain Card has a BALMY BLUE CARD BASE

INSTRUCTIONS


Cut card base and card insert as well as all of the pieces listed above. I have added photos of the steps for this card as well to help visuals.


Once everything has been cut and the Basic White and DSP panels have been assembled it's time to measure.

Measure to the center of your card, 3-1/2" inch mark. If you have a pencil and can erase easily then draw the line on your card at the mid point.

Then, measure 1-1/2" from top of card center and then measure again from bottom of the card, 1-1/2" in and mark in both places along that center line. These become the markers for where you will glue your mechanisms. Jan B said it is important to get this straight and center so the card stands up. I wasn't perfect but the card stood up so just wanted to mention that.


Glue a mechanism on either side of the pencil line as close as possible. Cover the mechanism with the Center Card Front Panel as pictured above.

Add the decorative panels to your mechanism. 1 panel goes on the inside (both mechanisms) closest to the DSP panel. 2 panels get glued to the outside of the mechanism closest to DSP center panel (pictured above) on both mechanisms. The last square of the mechanism will be adhered to book panel so it doesn't need decorated.


Last step for the card assembly is lining up book panel center and then gluing one side at at a time to the mechanism. Make sure it is straight so it'll stand up. Once card is finished it should look like the card pictured above. 


For the sunshine card, we are using mostly Paper Pumpkin kit pieces and stamps. You can decorate however you like. This is what I did:

Stamp and fussy cut sun in Mango Melody ink.


Trim up the clusters of flower die cuts so you have enough for each panel OR stamp flowers and die cut with add-on dies.

Trim down the grass die cut panels to (2) at 2-1/8" for the front panels and (2) 1-1/8" for the back panels. It gives a cool scene look! Pop up with dimensionals.


Add your characters and sentiment however you like! WISHING YOU SUNSHINE AND SMILES!

FAUX SHAKER CARD

Decorated with Paper Pumpkin Kit Pieces
*Pink For Everything Sequins*

Decorated with Paper Pumpkin Pieces and Stamp from Playing in the Rain Stamp Set
*Blue For Everything Sequins*

Decorated with Lucky Clover Bundle
*Green For Everything Sequins*

  • CARD BASE: 5-1/2 x 8-1/2" Score: 4-1/4" (I used Flirty Flamingo, Old Olive and Balmy Blue Cardstock for the Shaker bases pictured above)
  • Card front from Paper Pumpkin: 4-1/4 x 5-1/2"
  • Inside Layer from Inside of Paper Pumpkin Card: 4 x 5-1/4" (rainbow and rain, splatter pattern from Rain or Shine DSP in cards pictured above)
  • 1 Medium Clear Envelope
  • Couple Scoops of Sequins or desired filler for shaker
  • Die Cut or Decorative Pieces from Kit

INSTRUCTIONS

Cut those Paper Pumpkin cards in half. Set aside the frame. That doesn't need trimmed further.

Trim the inside layer (or pattern background piece) to 4 x 5-1/4"

Tuck inside clear medium envelope. Toss in or scoop in sequins on the front side of the envelope.

Make nice and tight and seal envelope. Tuck excess envelope on one edge to the back and secure with tape. Make it tight, no big air pocket.

Glue this to the card front. Glue the frame panel to the front of shaker.

Decorate as desired.

For the PINK CARD: Bunny, Kite, Flowers from Paper Pumpkin Kit

For the GREEN Card: St. Patrick's Day Theme with Lucky Clover Bundle

For the BLUE Card: Rain theme using Paper Pumpkin kit

I used the sequins for all three faux shaker cards.

This is a much simpler but FUN card!!!!!!!!!!!!!!!!

I hope you enjoyed today's free project sheet! I know the fun fold is a lot of pieces but I promise it comes together easier than it seems! Give it a try! 

I will have a full list of products used below including my February Host Code which expires 2/28/2023

Also, Sale-a-Bration ends 2/28/2023! ONLY TWO DAYS LEFT!!!!!!!!!!!!!!!!!!!!!!!

Shop and save or JOIN and get the best offer Stampin' Up! has right now! Only two days left to save up to $109 in FREE product of YOUR CHOICE! If you have questions, please email me: stampingwithhart@gmail.com.

There is STILL TIME! But not much! 

Ready to put those wish list items in your Starter Kit? And get FREE Shipping? Click here: https://www.stampinup.com/join?demoid=2212777

Here is a fun alternate using a combination of the
Paper Pumpkin Kit and Rain or Shine Suite

Last but not least, this is the same concept of the Shaker but without the clear envelope and sequins!

Thank you and happy crafting!

Melinda

Friday, February 17, 2023

Triple Time Stamping Technique


Today's card features an oldie but goodie stamping technique: triple time stamping! All 5 Cards have the same measurements. It's the colors and stamps that vary, so I will list the measurements once and then I'll list out the color combinations for each card below, as well as some tips whether you are using the clear blocks, stamparatus or both.

FREE PROJECT SHEET

My goal was to highlight our 2021-2023 In Color Collection with today's cards. Each card base is one of the five 2021-2023 In Colors.


CARD MEASUREMENTS

  • CARD BASE: 4-1/4 x 11" score at 5-1/2" (Pale Papaya Cardstock pictured)
  • BASIC WHITE (Cardstock): 4 x 5-1/4"
  • PALE PAPAYA LAYER: 3-1/4 x 4-1/2"
  • BASIC WHITE: 3 x 4-1/4"
  • PALE PAPAYA LAYER: 2-1/4 x 3-1/2"
  • BASIC WHITE: 2 x 3-1/4"
  • (Optional) Insert in Basic White - 4 x 5-1/4" (for inside of card) Not Pictured
  • (Optional) Basic White Medium Envelope (Recommended)

INSTRUCTIONS

Take the 3 Basic White pieces (regular Basic White not the thick cardstock) and adhere them together temporarily by placing a VERY SMALL amount of adhesive in the center of each layer. Place finger on adhesive a few times to remove some of the stickiness. This will make it easier to separate the pieces later. I recommend Stampin' Seal for this (a very small amount)

Once you've stacked your Basic White layers (I placed mine center but you can place at an angle if you'd like) it's time to stamp.

Stamp flowers or clovers or desired images onto the panels. Choose stamps that are large enough that you see them carrying over to the second and third layer which helps this technique give that wow factor.

For example, the largest clover stamp is on all three layers and then add desired stamps to create a pattern.

The Lucky Clover stamp set has lots of different size shamrocks and clovers to mix and match and I think they make great detailed stamped patterns for cards like this one but you can also keep it simple it with just one or two stamps, or just one or two colors.

Once you are done stamping, separate the layers (give them a gentle wiggle to help loosen the glue without bending or tearing the cardstock) and mount each layer to it's coordinating cardstock mat. If you'd like a flat card, use Seal and add dimensionals to layers if you like some pop with your card. Assemble card.

Add desired sentiment. I chose "Good Luck" from Lucky Clover Stamp Set and cut with the layering circle dies. 

If you plan to add an insert to your card, glue that panel in and you're all set! 

  • Flower Base: Fresh Freesia (Stamp Twice for a deeper, rich shade)
  • Detail Flower Layer: Highland Heather (Stamp twice as well)
  • Leaf Vine: Garden Green

  • Large Clover: Garden Green
  • Medium Shamrock: Pear Pizzazz
  • Small Clover: Pear Pizzazz
  • Minis: Evening Evergreen

  • Flower Base: Pale Papaya
  • Detail Flower Layer: Mango Melody
  • Leaf Vine: Garden Green

  • Base of Flower: Polished Pink
  • Detail Flower Layer: Sweet Sorbet (Stamp Off One Time before stamping on flower)
  • Leaves: Garden Green

  • Large Clover: Soft Succulent
  • Medium Shamrock: Garden Green
  • Small Clover: Evening Evergreen
  • Mini Clover/Shamrocks: Pear Pizzazz


SUGGESTIONS & TIPS

  • If masking, I recommend fussy cutting the image to get a close match to the stamp
  • If masking, be mindful when removing mask not to tear it and give the ink a minute to dry before moving the mask
  • If masking, I recommend removing some of stickiness by placing on your sleeve prior to putting over stamped image
  • If masking, I'd say make new masks per card. You may get away with using it multiple times but it probably won't be as good a fit
  • If using Stamparatus, lay out the flowers you'd like face down and then pick up the pattern you created with the plate and stamp onto scrap paper. Set aside. Get second round of the detail flower stamps. Lay them out and pick them up with the second plate. Set aside. Place your three panels adhered on the Stamparatus. Secure with magnets. Stamp with plate 1. Remove plate and then get plate 2. Ink up with darker color and stamp over the base flowers. Repeat pattern if desired.
  • Ultimately, I only partially stamped with stamparatus. It was GREAT for getting the two step stamps properly aligned. But I needed to free-hand some of the leaves because I was stamping in multiple directions and that would have been difficult to do with the Stamparatus.
  • My personal preference was photopolymer for this technique because I could see as I was stamping.
  • I also preferred the clear block but may still try the stamparatus for a card that is ALL of the flowers from Two Tone Flora!

I hope you enjoyed today's card tutorial!

What's your favorite In Color?

SALE-A-BRATION ENDS 2/28/2023

Shop and earn free rewards while you still can! Join and SAVE HUGE on your wish list items! 

Start stocking up on the outgoing In Color products if there is something you love before the retirement list is officially announced.

Here is the product list for today's cards. I have included the February Host Code. 

Happy Crafting!

Melinda


Wednesday, February 15, 2023

Create EYE CATCHING Card Layouts Every Time with this DIE CUT PATTERN Te...


Hello! Today we are creating eye catching card layouts with a simple repeat pattern using die cuts!

Featuring Ready to Ride Suite

Today's Stampin' Up! Coordinating Colors


Already on my email list? This was sent to you earlier today!

CARD 1 - You are Legendary


CARD MEASUREMENTS
  • CARD BASE: 5-1/2 x 8-1/2 score: 4-1/4" (Pumpkin Pie Cardstock)
  • DSP Layer 1: 4-1/4 x 5-1/2" (Enjoy the Journey DSP Orange Mountain Scene)
  • DSP Layer 2: 1-1/8 x 5-1/2" (Ready to Ride DSP - Tire Pattern)
  • 1 Die Cut Motorcycle (Very Vanilla Cardstock)
  • 6 Die Cut Flames (Very Vanilla Cardstock)
  • 2 Die Cut Hubcaps (Silver Specialty Foil, Darker Shade)
  • 2 Die Cut Tires (Basic Black Cardstock)
  • 1 Die Cut Intricate Details for Motorcycle Piece (Silver Specialty Foil, Darker Shade)
  • 2 Pieces Pumpkin Pie Twine (about 6" each)
  • 1 Insert panel for inside sentiment - 4 x 5-1/4" (Very Vanilla Cardstock) 

INSTRUCTIONS

Stamp Large Motorcycle from Legendary Ride Stamp Set in Memento Black ink. I recommend the Stamparatus (a stamp positioning tool) for stamping larger stamps like this motorcycle in case you need to stamp it more than once for a perfect black detailed image.

Die Cut motorcycle. Die cut motorcycle accessory pieces. Assemble and glue motorcycle. I suggest gluing in this order: hubcaps first, tires second, the detail chrome overlay third and the seat last. Set aside.

Stamp flame 6 times with Pumpkin Pie ink. Leave yourself enough room between each stamp so you can die cut all six pieces. Optional: add yellow to the flame with Daffodil Delight Dark Stampin' Blend. Die cut and set pieces aside.

Stamp "You are legendary" in a repeat pattern on the left side of the DSP panel in black ink. Clean stamp. Reposition stamp in the area between sentiments and stamp again for nice, tight pattern of repeat sentiments all the way down the panel. Glue panel to card base.

Take you twine pieces and add to the Tire Pattern DSP Strip. Adhere to the right edge of the card.

Position your bike at bottom of card and find the place where you want to place your flames. Once you find your place remove the bike and glue all six flame die cuts close together across the panel. 

Place bike on dimensionals and add to bottom of card. Glue insert.

CARD 2 - Classic Authentic You


CARD MEASUREMENTS

  • CARD BASE: 5-1/2 x 8-1/2 score: 4-1/4" (Basic Black Cardstock)
  • Silver Specialty Foil Layer: 4 x 5-1/4" 
  • Square Layer: 3-3/4 x 3-3/4" (Pumpkin Pie Cardstock)
  • 9 Die Cut Hubcaps (Silver Specialty Foil, Darker Shade)
  • 9 Die Cut Tires (Basic Black Cardstock)
  • 1 Die Cut for Sentiment (Basic White Cardstock, Something Fancy Dies)
  • Pumpkin Pie Twine (about 18 or 20" if you plan to wrap 4 times as pictured)
  • 1 Insert panel for inside sentiment - 4 x 5-1/4" (Very Vanilla Cardstock) 

INSTRUCTIONS

Place Silver Foil panel in the Metal Plate 3D Embossing Folder and run through the full size Stampin' Cut and Emboss Machine using plates 1 and 4.

Wrap Pumpkin Pie twine 4 times around the bottom third of the foil and then glue to card base.

Die Cut all of your hubcaps, tires and your sentiment die cut.

OPTIONAL: I recommend the Adhesive Sheets for the hubcaps and tires. I will add it to the product list even though I didn't use them because I really wish I would have. It's an optional step but would have really saved on time. If you prefer glue, disregard this suggestion.

Create your pattern on the Pumpkin Pie square and glue all of the hubcaps and tires in a 3-6-9 pattern (or 3 rows of 3 tires)

Place panel on dimensionals and add to card in the upper part of card front.

Stamp "Authentic You" stamp from Legendary Ride in Pumpkin Pie ink on Basic White die cut and adhere to card with dimensionals over the twine.

Glue insert.

Finishing touch: add Matte Black Dots to the center of each hubcap!

TRYING THIS WITH A DIFFERENT SUITE/ THEME...

If you prefer florals here is an example of the die cut pattern with the Fancy Flora Suite


Alternate Card Coordinating Stampin' Up! Colors

TWO WEEKS LEFT FOR SALE-A-BRATION 2023

When you shop in the online store and spend $50 or $100 before tax you can choose from free rewards for Saleabration. I have a picture of the latest round of items you can choose from or you can choose from the Sale-a-Bration Brochure! 

If you spend $50 with me in the online store in February (before tax) using my Host Code (which is already added to the products on this PDF) I will send you a FREE embellishment as well as a thank you for shopping with me. Both Sale-a-Bration and the Host Code expire 2/28/2023

WHEN YOU JOIN...

The best deal Stampin' Up! has to offer is the Starter Kit. You can choose $175 in product from your wish list or even preorder items and place them in your starter kit and only pay $129 if you choose the Mini Machine option or only $99 if you choose not to get the Mini Machine. FREE Shipping on the Starter Kit as well! 

If you choose the Mini Machine option the product value savings are $109!

If you choose the option without the Machine your product value savings are $76!

That is soooo much to save on bundles, a suite or whatever combination of products you choose.

If you've been considering this option but aren't sure or have questions then please me email me at stampingwithhart@gmail.com and I'm happy to help you with questions about joining.

You do not have to sell but if you are interested in a Stampin' Up! business there are resources to help you get started. It's up to you!

The majority of demonstrators join for the hobby discount and enjoy the benefits of early access to catalogs, preorders and more. The demonstrator community is also inspiring, creative and supportive!

You will also enjoy a 20% discount and it can go up to 25%.

Now is the time! Only two weeks left!

If you choose to go back to being a customer later that is fine but many who join do enjoy the benefits Stampin' Up! offers to demonstrators.

Ready to join? Click here: https://www.stampinup.com/join?demoid=2212777

For a list of the products used on today's cards see below.

Thank you so much and happy crafting!


Saturday, February 11, 2023

March 2023 Paper Pumpkin FIRST LOOK - And it's goooooooooddd!!!!!!!!!!!!!!

 Hello Paper Pumpkin friends and cardmakers!

It's my favorite sneak peek day of the month! The first look at Paper Pumpkin's next kit. Here it is!


So, a few things about the March kit:

  • Paper Pumpkin is celebrating 10 years this year! WOW
  • It's their birthday month which means a BONUS stamp set in this kit for us
  • You need to subscribe by March 10th for this kit
Look at this sneak peek! The stamp set!
Loving the size of the stamps!

What is Paper Pumpkin?

This is a monthly subscription box from Stampin' Up! Typically, the kits contain card bases and envelopes along with everything you need to make the cards in the kit: stamp set, ink, adhesive, die cuts, etc. Sometimes the kit may have a 3D project but this month will be cards.

Who is Paper Pumpkin for?

Whether you've never created a card in your life or you are an avid cardmaker and stamper, Paper Pumpkin is ideal for you, but I will break it down for those of you who would like more specific suggestions:
  • New crafters 
    • All inclusive kits contain instructions and keep the stamping simple
  • Crafters who do not like to design 
    • Some crafters appreciate when the card layouts are already done for them
  • If you LOVE the convenience of subscriptions
    • Many of us have monthly subscription for food, entertainment, skincare, makeup and why not have these craft boxes show up at your door each month too!
  • It inspires creativity
    • Crafters can tend to fall into the same type of card layouts or use the same colors... Paper Pumpkin encourages you to try a different theme and ink spot each month
  • It's a great activity for family or friends (with NO screen time)
    • Kids can put these cards together easily and it helps us find ways to eliminate screen time
  • It's just FUN
    • Who doesn't love a good surprise in their mailbox each month? While Paper Pumpkin reveals "sneak peeks" we don't see the WHOLE kit or the big reveal until it arrives at our door
  • The ALTERNATES!!!!!!!!!!!!!!!!!
    • There are so many stampers and crafters who love these kits and you will see endless inspiration on how to use up the pieces and create alternate card ideas with your kits so you can maximize the value of your purchase
Ok, I hope that helps answer that question! The kits are easy and beautiful month in and month out.

Let's talk about Sale-a-Bration and Paper Pumpkin for a moment.

Sale-a-Bration ends this month: 2/28/2023 and during Sale-a-Bration if you spend $50 or $100 (before tax) you can earn free products. You can actually earn Sale-a-Bration rewards with Paper Pumpkin too when you purchase a 3, 6 or 12 month Prepaid Subscription.

Here are the links (and I will have them below as well) if you are interested in the prepaid option so you can get your free Sale-a-Bration items:


If you'd rather pay month to month (the most popular option) then you can subscribe monthly here: https://www.paperpumpkin.com/en-us/sign-up/?demoid=2212777


Thank you so much for spending time on the blog with me today! 

If you have any questions about Paper Pumpkin please reach out to me via email or you can message me on social: stampingwithhart@blogspot.com

Happy Crafting!

Melinda

My 2024-2026 In Color Club Starts May 1st! IMPORTANT CHANGES!

Questions? Email me: stampingwithhart@gmail.com