
Last weekend Connor and I made shamrock ornaments for our decorative birch tree.
Here's how we did it - and what keeps my son (who is on the spectrum) interested in our craft projects.
So why am I showing a Valentine tree and a St. Patrick's Day tree? It's the SAME HEART PUNCH - DIFFERENT HOLIDAY! Get the most out of your punch!


Connor's job: Punching the hearts and circles
My job: Supervision and assembly (and cheerleader)
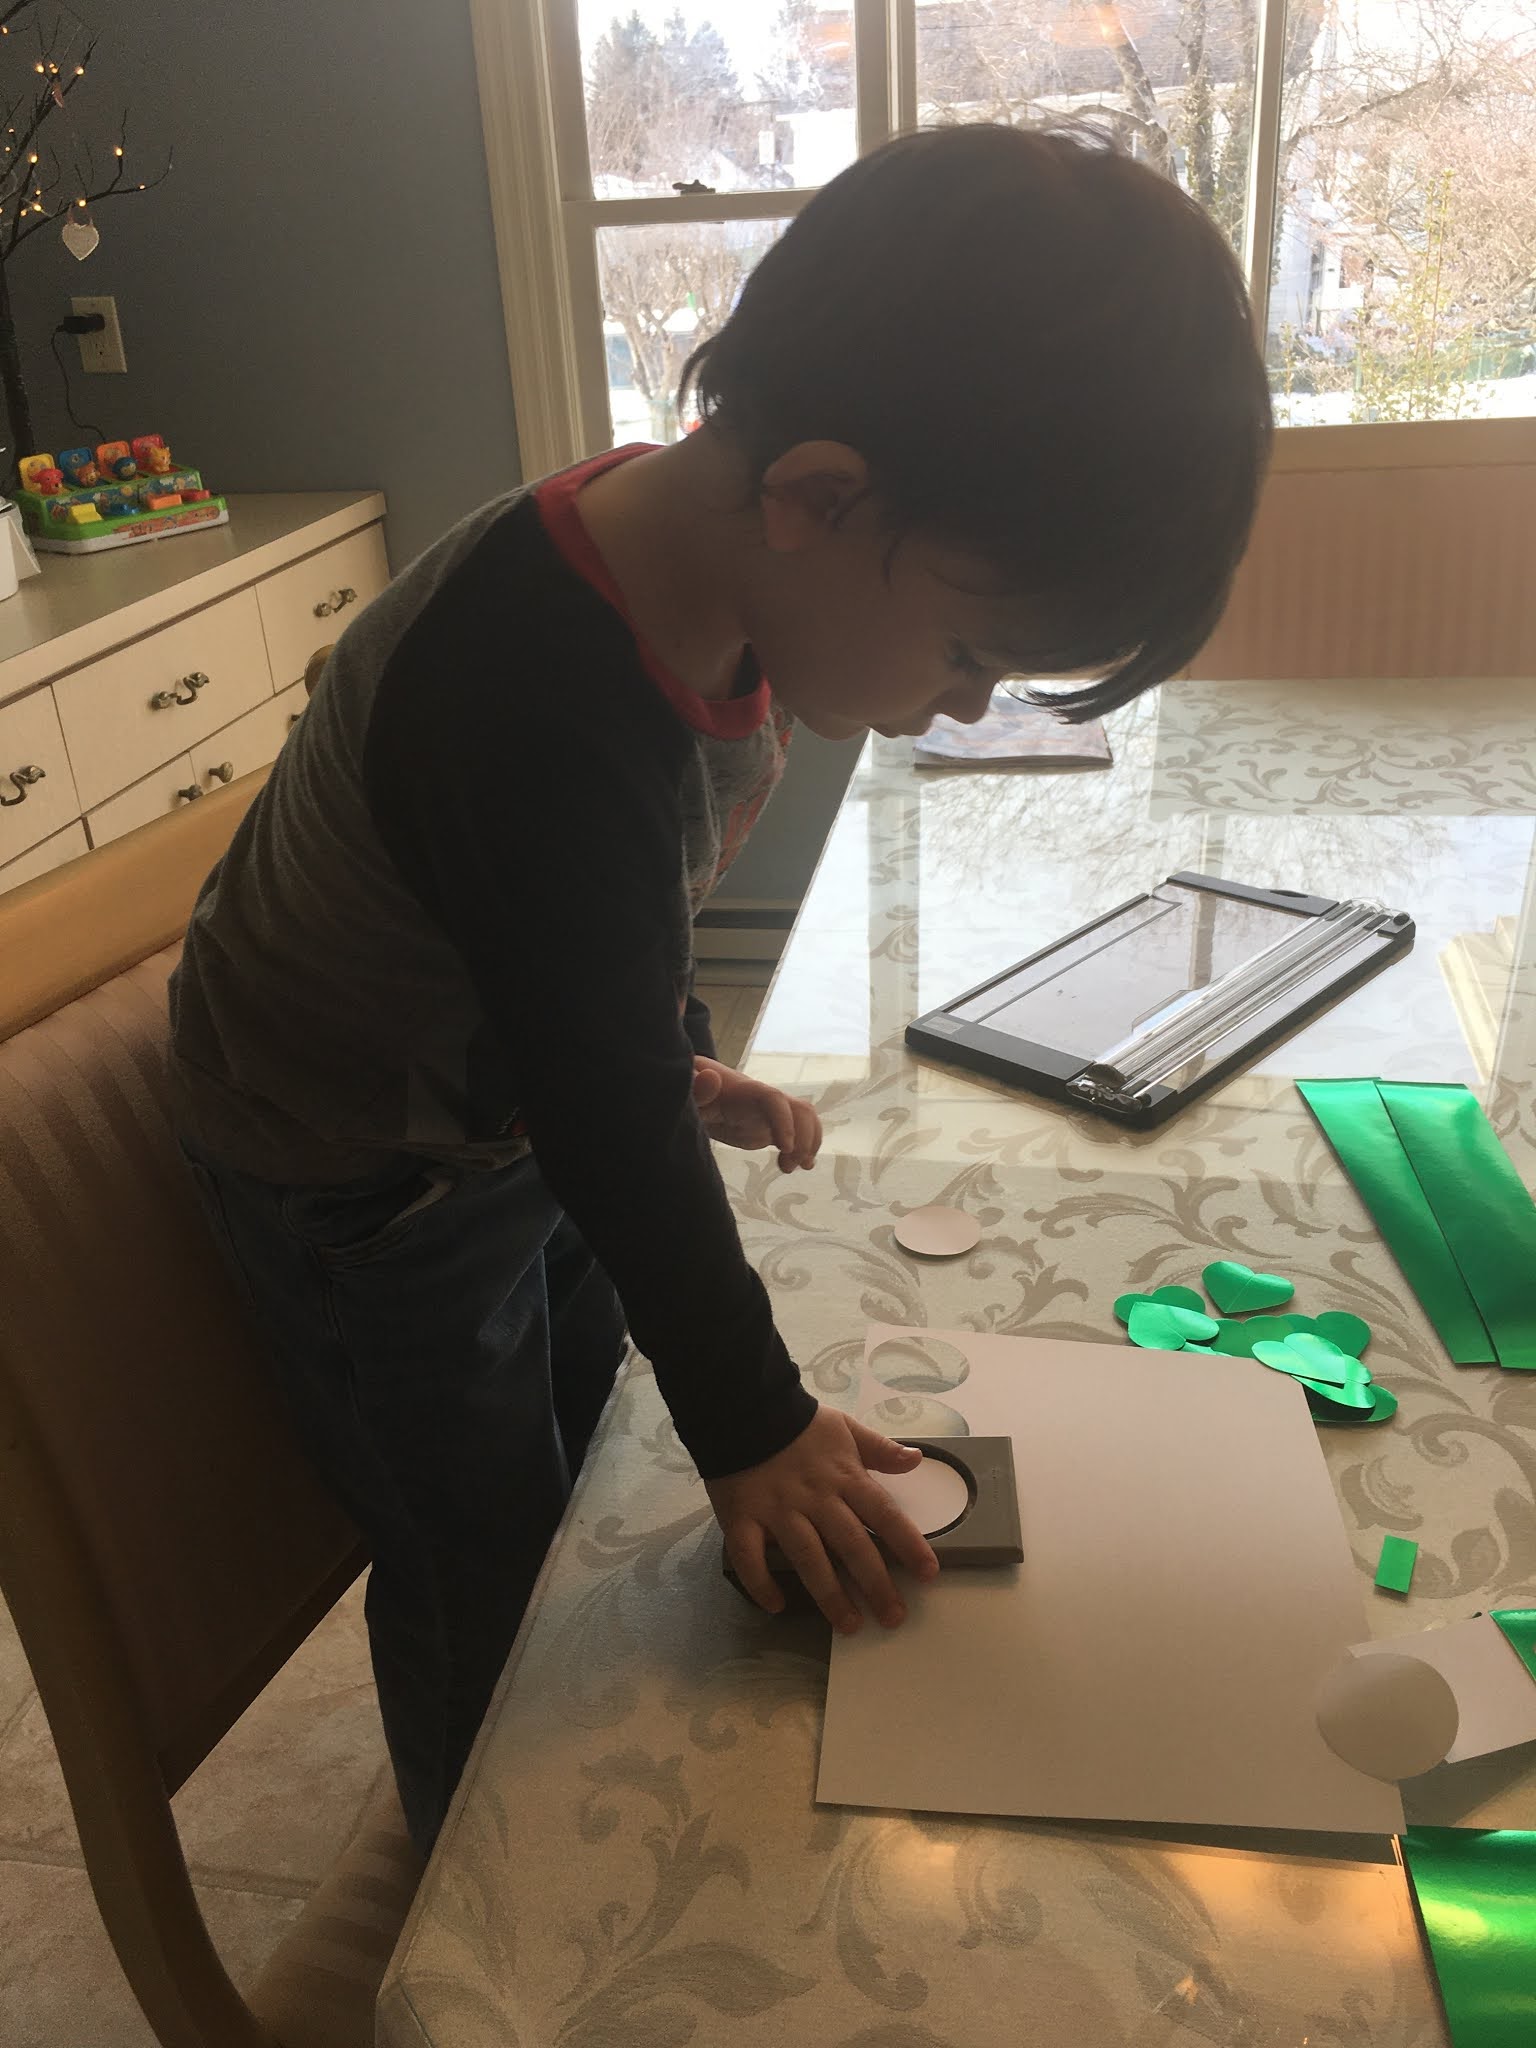
I shared previously that my son is on the spectrum and a sensory seeker, which means Connor really loves anything related to a Comic Book sound effect: Boom - Bam - Crunch - Splash - Pow, etc. He enjoys splattering paint, splashing in water, throwing birdseed and making just about any kind of mess. He's also very active and one of our goals (and challenges) is getting Connor to stay focused on a task for more than a minute.
He prefers to stand, fidget or move when he's working on something and we encourage that since it helps him to succeed. He also loves height which is why we do most projects on the Dining Room table.
Here are a few things I wanted to share that help Connor succeed with crafting.
DISCLAIMER: I am not a therapist or medical professional. This is just "Mom" experience that works for my family and I always recommend you do what works best for you and your loved ones.
Tips for Success with this project:
1.) MAKE IT SHINY - My son likes flash and sparkle so I will usually go for Foil Sheets or Glitter Cardstock (flocked paper is also good, very sensory) when it's available. It's also more durable.
2.) PUNCHING & CRANKING are PREFERRED activities for Connor so those are the things I use to keep him at the table.
3.) TURNING THE PUNCH UPSIDE DOWN - A word of caution, Stampin' Up! did not design their punches to be punched this way. You should always read the instructions and safety guide provided with your products. Children under 3 years old (physically/ mentally) could pinch their fingers if the punch isn't used properly or without assistance/ supervision.
HOWEVER, if you are in an adaptive or special needs circumstance, as is the case here, you already know that it's not uncommon to improvise use of a product to better fit the circumstance/ child.
When the punch was face down (the proper way) Connor couldn't see the shape that was being punched so he was less interested in punching more than one circle or heart. When I turned the punch face up (adapting) so he could see the shape as it was being cut, he was much more cooperative when it came to punching multiple hearts for the shamrocks. It's a very sensory thing for him to see and hear the shape being punched as its happening. If you have a sensory avoider it may be just the opposite. They may not want to see it punched but like the result. Every circumstance is different. Use your best judgment.
I taught him how to punch safely this way and stayed with him to be sure it was all good.
Punches are heavy (for kids) so depending on the size and age of your little helper you may have to assist them with punching or do the punching for them. You can give them the job of feeding the cardstock into the punch or scoring the hearts. There's plenty of ways to incorporate your little one.
4.) CUT STRIPS SO THE PUNCHING IS FASTER - When you have a kid who has trouble standing still or, even better, loves to bolt, its always best to make the task go as quickly as possible. I find cutting the cardstock into strips is easier and faster for you and the kids.
 |
| My son Connor (5) punching circles for the back of the shamrocks. He likes to see the shape as its being punched. |
 |
| Safety: Remove the "cutting" blade from your Paper Trimmer (and put out of reach) before letting your little ones score the hearts |
  To make the hearts look more like clover leaves, you can score right down the center of each heart. If you hold down the plastic scoring guide as you score, you can score multiple hearts at one time  |
| This is the 2 Inch Punch which we found to be a little too big so use a smaller circle or punch again so its not visible behind the shamrock. |
 |
| Step 1: Add ribbon with adhesive |
 |
| Step 2: Add Stem |
 |
| Step 3: Add heart leaves - I like them at a slight angle |

Step 4: Secure your top heart leaf
 |
| Step 5: Show off your Shamrock Ornament! |
Just a note about products used and sizes: I used a retired shaded spruce ribbon and retired Green Foil Sheet that I had on hand but any green cardstock and/ or ribbon will do.
Measurements: The stem is 1/2 inch and then the length of stem is up to you. I would say about 3/4 inch but we were not precise. It was really more about the fun and quick assembly.
Ribbon was cut at 6" per ornament.
My preferred adhesive for ornaments is the Tear and Tape Adhesive.
Just for fun, here is a series of photos as Connor punched out shapes. He stayed with the project for about 3 minutes. Had a quick run around the house and then back for about 3 more minutes with the heart punch.


Product Links:


No comments:
Post a Comment